"What do I actually need to know before I try climbing for the first time?"
You primarily need to understand that getting into rock climbing is less about having superhuman strength and more about understanding movement efficiency, proper gear selection, and a willingness to fail spectacularly until you figure out what works. Don't view it as simply hanging from things; approach it as solving a three-dimensional puzzle using your body.
Book the Introductory Session
Before you even think about buying shoes or committing serious time, book an introductory session. This initial exposure is critical because it allows you to understand the gym environment—the smell of chalk, the specific texture of different holds, and the general flow of traffic—without the pressure of performance. You will be introduced to basic safety protocols, which are non-negotiable.
During this first visit, focus entirely on movement rather than height or difficulty. Most beginners come in with an idea of what climbing looks like, often picturing epic ascents from movies, but the reality is more methodical. Start by mastering footwork on low walls and bouldering circuits that do not require complex falling techniques. This initial phase builds proprioception—your body's awareness in space—which is far more valuable than any temporary burst of raw strength you might display.
The core concept you must grasp here is the difference between 'pulling' and 'stepping.' When people first start, they tend to use their arms and back muscles to pull themselves upward, which leads to rapid forearm fatigue. A good coach will immediately correct this by emphasizing that your feet are your primary engines. Every move should ideally be facilitated by placing a foot precisely on the next viable foothold, using minimal arm strength only for balance or minor adjustments. This trade-off—sacrificing perceived power for positional efficiency—is the defining characteristic of smart climbing.
It is also important to understand that rock climbing itself is absolutely a sport, and it has deep roots in physical endeavor; moreover, due to its global recognition and structure, it now qualifies as an olympic sport. This institutional status means there are established pathways for training and competition that you can follow later.
Understand Your Body's Mechanics
When people ask what muscles rock climbing works, they generally expect a simple answer like "your arms." The truth is far more nuanced. While your forearms, biceps, and lats are heavily engaged in grip strength and pulling motions, the real work happens in smaller stabilizer muscles and requires incredible core engagement. Climbing is fundamentally an exercise in integrated physical conditioning.
The full spectrum of muscle groups involved means it functions as a comprehensive workout that builds functional strength. It engages your grip (forearms), your back (lats/rhomboids for pulling), your shoulders, and crucially, requires immense stability from your core and hip flexors to maintain balance while your limbs are in awkward positions. This holistic engagement is what makes it such an effective form of exercise.
A key element often overlooked by newcomers is the role of your hips. When you move up a route, proper climbing mechanics involve swinging or hiking your hips into place to create purchase on footholds that may be out of reach otherwise. This teaches hip flexibility and powerful glute engagement—muscles that are sometimes underdeveloped in people who spend most of their time sitting at desks. If you find yourself constantly shaking or falling off despite knowing the right move, it often means your core is failing to stabilize your torso against the lateral forces of the climb.
You will quickly learn about the difference between finger strength and full-body power. While crimping (using small edges for grip) can rapidly build intense, localized forearm endurance, sustainable climbing requires developing systemic power that allows you to maintain those tiny grips over extended periods without burning out your tendons or ligaments.
Optimize Your Gear Choices
Approach your gear selection methodically; treat it like an investment in performance. You do not need the most expensive equipment immediately, but understanding what is required for different styles of climbing is crucial to maximizing your training time and safety.
The absolute essentials are specialized climbing shoes. Forget general athletic trainers or even street shoes; you need footwear that provides a stiff sole with excellent grip patterns and highly sensitive toe boxes. The fit must be precise—tight enough in the toes to encourage engagement, but not so tight that it cuts off circulation.
Beyond the shoes, consider chalk. While basic magnesium carbonate is standard for keeping hands dry, some climbers prefer specific types of chalk or specialized grips depending on whether they are working with damp holds or highly polished surfaces. Always check if the center recommends a preferred brand or type when you start out.
If you move into outdoor climbing later, your gear list expands significantly to include harnesses, belay devices, and ropes, but for indoor training, focus on maximizing your shoes first. When shopping, try them on at different times of day, as foot swelling can change comfort levels dramatically. Remember that the perfect shoe is one that feels like a natural extension of your foot, allowing you to feel the micro-edges of the holds rather than fighting the shoe material.
Develop Your Mental Game
The most significant difference between an adequate climber and an excellent one is often not physical ability but mental fortitude. Climbing requires solving problems—the route is a puzzle that must be solved both physically and mentally before your hands even touch the first hold. This aspect of training, utilizing sports psychology, is where true progress happens.
When you are struggling on a particularly difficult traverse or pitch, the urge to panic and pull with brute force is strong. You must learn to pause, breathe deeply, and analyze the situation like an engineer looking at a blueprint. Ask yourself: What foothold am I overlooking? Which hand placement allows me to shift my center of gravity without overextending? This mental discipline—the ability to remain calm under extreme physical stress—is often called 'climbing poetry' by veteran climbers.
Furthermore, understanding your limitations is a form of mental training. When you reach a route that feels impossible, the urge might be to try and muscle through it until failure. The more skilled approach is to recognize when you are hitting a physical or technical wall, take a break, reassess your body position on the previous holds, and then attempt the problem again with a completely different mental framework. Sometimes, simply accepting that you cannot do it right now allows your subconscious mind to map out a better solution for the next time.
Finally, embrace the community. The culture of climbing centers is built on encouragement, shared frustration, and mutual respect. Asking questions—even those you feel silly asking—is the fastest way to progress. Your peers are not competitors; they are resources that understand the unique blend of physical pain and mental triumph that defines this sport.
Read the Setting Before You Read the Route
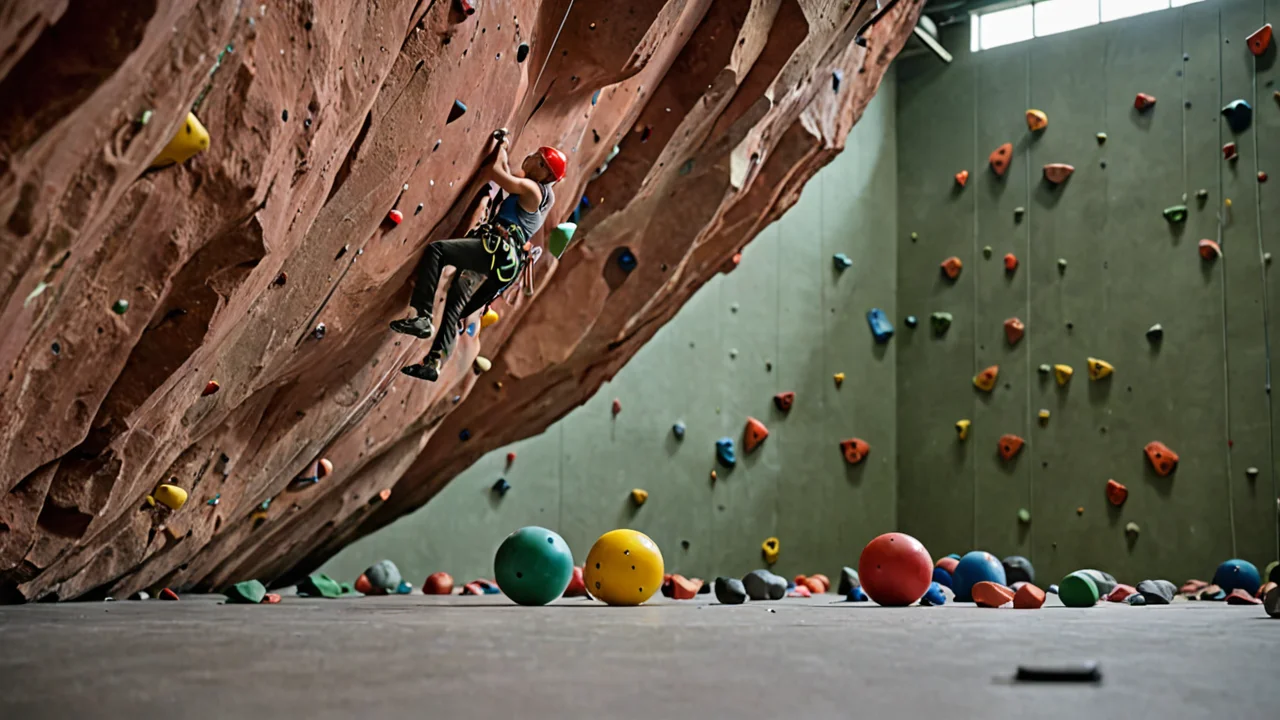
Red rock is sandstone, and sandstone at a climbing center changes character with humidity and traffic. Ask at the desk what the previous day's conditions were and which walls are currently setting or stripping routes. A gym that has just reset a section will have fresh, chalk-free holds that feel slicker than they look, and a gym coming off a damp weekend will have polished feet on the popular moderates. That single question saves you from blaming your technique for a surface problem.
Walk the perimeter before you tie in. Note where the auto-belays sit relative to the bouldering mats, because the two zones have different fall expectations and the traffic between them is where most near-misses happen. Look at the floor markings: if the mat edge is taped a body-length back from the wall, respect it, since that tape exists because someone landed there.
Sandstone also dictates your warm-up. Friction is best when the rock is cool and dry, so plan your hardest attempts for the part of the session when the building is emptiest and the air is coolest, not immediately after you walk in. A short, easy traverse on a vertical wall beats stretching in the corridor for getting blood into your forearms and fingers, and it lets you feel the day's grip before you commit to anything sharp.
The trade-off is real: a red rock center often has softer, more friction-rich surfaces than a plastic-only gym, which flatters your footwork indoors and can leave you over-gripping when you go outside. Treat indoor sends on rock texture as a confidence builder, not a calibration.
Build a Session in the Right Order
Do your hardest climbing second, not first. The sequence that works: a general warm-up of easy traverses and joint circles, then a specific warm-up of two or three routes well below your limit to load the fingers gradually, then your project attempts while you are fresh, then volume on easier ground once power fades, and finally antagonist work — push-ups, band pull-aparts, wrist extensions — to balance the pulling you have just done.
Most beginners invert this. They arrive, jump straight onto the route that intimidated them from the last visit, fail on the third move, and spend the rest of the session tired and discouraged. The fix is boring and effective: write down what you will attempt before you put shoes on, and hold yourself to it.
Rest between attempts matters more than beginners expect. On a boulder problem, give yourself several minutes of genuine rest — sit down, drop your arms, breathe — rather than pacing at the base. On routes, the lowering and re-tying cycle naturally spaces attempts, so use it. If you notice your grip failing on moves you did cleanly earlier, you are done projecting for the day; switch to technique drills instead of grinding.
Technique drills earn their place here because they are cheap and they compound. Climb easy routes with silent feet — place each foot once, deliberately, and notice when you scuff. Climb with straight arms and relaxed shoulders, letting your skeleton hang rather than your muscles. Climb a route you have already done and rehearse the rests rather than the cruxes. None of this requires a coach, and all of it transfers to the next session.
What goes wrong: sessions that run long and shallow. Three focused hours beats five hours of wandering between walls, and the soreness you feel two days later is more often from volume than from quality. If your skin is hot and tender at the fingertips, stop — skin is the one resource you cannot train through, and a flapper costs you a week.
Train the Head as Deliberately as the Fingers
Fear of falling, not weakness, is what caps most beginners' progress, and it is trainable in a controlled way. The practical order: practice falling from low heights on the bouldering wall first, from a height where the landing is unremarkable, until the fall stops triggering a grab response. Then move that practice onto a rope with a trusted belayer, taking controlled falls from just above a bolt or clip, incrementally higher across sessions. The point is not bravado; it is teaching your body that the fall is survivable so your conscious mind stops spending energy managing it.
Sports psychology, the scientific study and application of psychological principles to sport, exercise, and physical activity, including performance and well-being, is the formal name for what you are doing in these repetitions. The applied version is unglamorous: a short pre-climb routine, a rehearsed phrase for when you feel the panic rise, and a rule that you will not grab a hold in fear if a controlled fall is available.
Route reading is the other mental skill, and it is best practiced on the ground. Before you pull on, stand back, trace the sequence with your eyes and hands, and identify where you will rest and where you will commit. Then climb and compare what happened to what you planned. Note the specific gap — misjudged reach, wrong hand, missed foot — because the pattern in your gaps tells you what to drill next.
The honest limit: head training does not replace physical preparation, and no amount of breathing drills will get you up a route your fingers cannot hold. It removes a ceiling; it does not raise the floor. If you find yourself avoiding the same style of move repeatedly — overhangs, slabs, anything above a certain height — that avoidance is the data. Name it, pick one route a session that contains it, and treat the attempt, not the send, as the win.