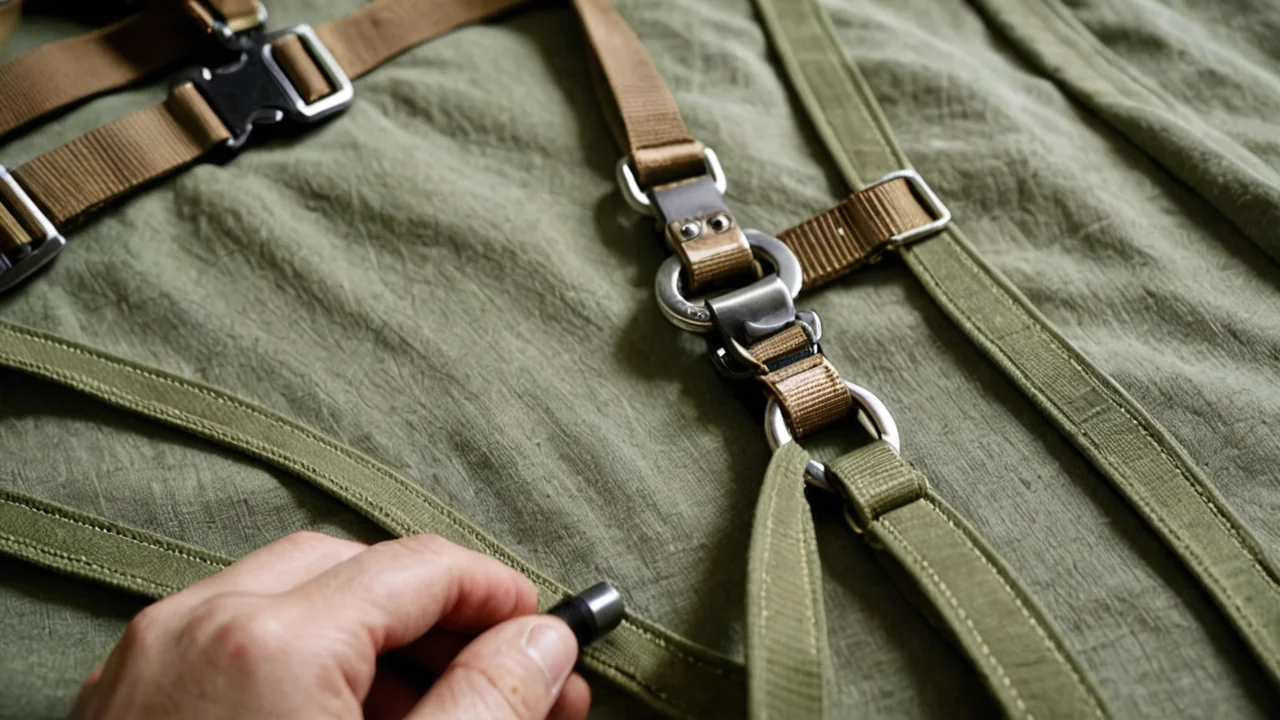
The biggest mistake climbers make when buying a harness is assuming that because it came from a brand they trust or looks cool on display, it will fit correctly; often, sizing up slightly for perceived comfort leads to poor load distribution and unnecessary pinch points under duress.
Assess Your Torso Geometry Before Buying
A properly fitted climbing harness must distribute the force of a fall across the strongest, most stable areas of your body—the hips and pelvis—without compromising circulation or causing excessive localized pressure. You should spend time understanding your personal torso geometry: are you built more vertically (long trunk, shorter legs) or horizontally (shorter trunk, longer limbs)? This assessment dictates where the primary load-bearing points must sit.
The goal isn't to buy a harness that feels perfect when you are standing still and relaxed; it is to acquire one that holds its shape and performs reliably under dynamic tension. When you try on different models, actively move through deep squats and lunges while the harness is fastened. If you notice pulling or pinching in your groin area, or if the waist belt rides up significantly when you flex your core, that indicates poor geometry matching between the gear and your body.
The reason this physical assessment is paramount is simple: a harness is only as good as its ability to keep the force vectors aligned with your skeletal structure. If the webbing cuts into soft tissue or rests incorrectly on an area of natural flex, you are introducing mechanical inefficiencies that can lead to discomfort and, more seriously, compromise safety when failure occurs.
However, understanding torso geometry is not a perfect predictive tool. Some people simply have anatomical variations—a slightly wider pelvis, a unique hip flare, or pronounced muscle definition in the lower back—that standard sizing charts fail to account for. Therefore, while assessing your general shape is useful, it should only serve as part of a comprehensive fitting routine alongside active movement testing.
Try on Harnesses While Performing Dynamic Movements
Never purchase a harness based solely on measurements taken while standing straight up or sitting comfortably; you must test its resilience and adjustability under load. The definitive way to confirm fit is through dynamic motion: simulating the high-stress movements of climbing.
When testing, perform several actions: drop into a deep squat (getting your hips below your knees), then transition immediately into an explosive upward lunge, followed by pivoting sharply while maintaining tension on the waist belt. During these sequences, observe three key indicators. First, check for webbing migrating or bunching up in non-load bearing areas; this suggests inadequate adjustability. Second, ensure that the padding (if present) does not shift or fold when you move your legs apart and then together. Third, confirm that the waist belt remains level relative to your hips—it should not dip excessively at the front or lift too high on the sides.
The underlying principle here is tension management. The material must be robust enough to handle rapid changes in direction and force application without losing its structural integrity or causing chafing. A harness that feels fine during gentle movement will fail this test when you are actively pumping your legs and swinging into a difficult position.
The limitation of this approach is the necessity of having access to climbing partners who can facilitate these high-stress, dynamic movements in a controlled environment. You cannot fully replicate the stress profile of real rock climbing using only stationary equipment or gym walls; therefore, always build in an element of caution and respect for your physical limits when testing gear.
Understand the Trade-offs Between Materials and Padding
Different harness designs prioritize different things: some focus on minimal weight and maximum movement freedom, while others emphasize comfort over extended periods of use. You need to decide what trade-off you are willing to make based on your primary climbing environment.
For those who primarily climb in sport or gym environments—where routes are bolted and falls are usually predictable—a harness that is minimalist, featuring highly adjustable webbing and minimal padding, is generally preferred. These models put weight savings and pure flexibility first. Conversely, if you anticipate spending extremely long periods of time on approach belays, bouldering sessions where sliding against rough surfaces is common, or if you have known skin sensitivities, a model incorporating more strategic padding might be worth the extra bulk.
The choice between these two extremes involves considering friction points. Some materials are known to trap moisture and heat, leading to discomfort that can distract from the climb itself. When examining padded harnesses, pay close attention to how the padding material interfaces with your skin; poorly designed padding acts as a pressure point rather than a cushion.
It is important to realize that every choice carries a cost. A highly specialized, minimal harness might require you to spend more time fine-tuning its adjustability because there are fewer 'giving' points compared to a bulkier model. Conversely, the added comfort of maximum padding can sometimes introduce unnecessary slack or weight that negatively affects vertical efficiency on long pitches.
Build Muscle Memory Through Progressive Training
Before you become overly concerned with niche harness details—like specific webbing widths or hip belt material composition—you must first understand the sport itself and your own physical limitations. Rock climbing, at its core, is a full-body workout that relies heavily on finger strength, core stability, and shoulder endurance.
To start, begin with low-stakes training environments like bouldering problems or top roping in controlled gym settings. This allows you to build confidence and, more importantly, develop the muscle memory necessary for safe movement before adding advanced gear considerations. Focus initially on footwork placement and maintaining a stable center of gravity rather than trying to achieve maximum vertical height.
The progression through training should be gradual, moving from simple traverses across relatively flat walls to complex, highly angled movements requiring significant core engagement. As you progress, the muscles worked shift: initial climbing emphasizes forearms and back, but sustained movement forces deeper activation of the abdominal muscles and glutes to prevent "hip sagging" when hanging on far reaches.
The key takeaway here is that gear selection must follow fitness development. Trying to use a perfectly fitted harness for a level of physical activity you are not yet ready for will only highlight its shortcomings under extreme stress. Start simple, build the fundamental strength, and then return to fine-tuning your equipment.
Confirm Your Gear Choice Against Specific Disciplines
Your ideal fit changes dramatically depending on whether you intend to pursue sport climbing (ropes bolted into the rock), traditional climbing (placing protective gear like cams or nuts into natural cracks), or bouldering (low-to-the-ground problems without ropes). You cannot select a single, universal harness that excels in every discipline.
For sport climbing, where your falls are generally controlled and you are managing repeated, moderate impacts, adjustability and durability under abrasion from the rope are key. The load is predictable and vertical. For traditional climbing, however, the demands are different; here, you might be scraping against natural rock features or needing extreme freedom of hip movement while placing protection, meaning a harness that allows for maximum pelvic articulation is more valuable than one focused solely on minimizing weight.
Bouldering requires the highest degree of mobility and lowest profile. Because falls are short but often involve twisting maneuvers and high-intensity lateral forces, a low-profile waist belt that doesn't restrict hip flexion when squatting deeply or laterally reaching is non-negotiable. When comparing harnesses, consider which design minimizes bulk around the lower torso while still providing robust attachment points for belay loops.
Finally, remember that some gear—such as an approach belt—is meant to carry climbing gear (like quickdraws) and must be rated for carrying weight beyond what a standard harness is designed for. Always confirm the maximum load rating of any secondary belt or accessory attachment points before trusting it with your safety equipment.
Check the Belay Loop, Leg Loops and Rise Before You Commit
Size the waist belt so it sits above your hip bones, across the iliac crest, with the padding wrapping your pelvis rather than resting on the flare. Two fingers should slide under the closed buckle when you pull the tail snug, and if the webbing tail dangles past the buckle by more than a hand's width, drop a size rather than tightening past the comfort point. Harnesses are designed to be adjusted within a band, not cinched down from a size too big; a belt tightened past its design range folds the padding and concentrates pressure on a single line across your gut, which is exactly the load path you are trying to avoid.
The fit test most people skip is the hang test. Clip into a bar, a top rope anchor, or a gym's designated test point and actually hang your body weight with your feet off the ground. Do this before you buy, not after. Standing in a harness tells you almost nothing about how it behaves under load, because the belt migrates upward and the leg loops ride down once gravity takes over. When you hang, look for three things: the belt staying level rather than creeping toward your ribs, the leg loops dropping no lower than a few finger-widths down your thigh, and the belay loop sitting clear of the leg loop bridge with no webbing pinched between them. A belay loop that twists sideways under load is a sign the rise — the vertical distance between the waist belt and the leg loop bridge — is wrong for your torso, and no amount of adjusting will fix it.
Check the leg loops independently. They should sit snug around the upper thigh, above the widest part of the quad, and stay there when you lift one knee to your chest. If they slide toward the knee, the elastic risers are too long or the loops are sized for a longer femur than yours. Women's and men's specific models differ mainly in the rise and the angle of the leg loop attachment, so if you have a short torso and long legs, or the reverse, try both categories rather than assuming your own is correct. The cost of getting this wrong is not just discomfort: a leg loop that rides down during a fall shifts the load onto the back of the thigh, and a belt that rides up can compress the ribcage.
One thing the hang test cannot tell you is how the harness behaves on a real fall, when the force arrives suddenly and the waist belt loads from the belay loop rather than from a static hang. Treat the test as a floor, not a ceiling — it catches gross mismatches, not subtle ones, and the only real confirmation comes from climbing in the harness on terrain you are comfortable falling on.
Know When a Harness Is Retired, Not Just Worn
Replace a harness when the webbing shows fuzzing that you can pick up as loose fibers, when the belay loop has a visible wear groove or any cut, or when the buckle no longer holds adjustment under load. The belay loop is the single point that takes the most abrasion — it rubs against carabiners on every rappel and every clip — and it is also the part most often overlooked because it does not look like a load-bearing component. Run your thumb along its full length, inside and out, and flex it; a loop that has gone soft or shows a flattened, fuzzy section on the side that contacts the carabiner is done, regardless of age.
Age matters more than most climbers admit. Manufacturers publish a shelf life for webbing, and a harness that has sat in a hot car or a garage for years degrades even if it has never taken a fall. UV exposure, exhaust fumes, and the acids in sweat all attack nylon and polyester, and the damage is cumulative and invisible from the outside until it is not. If you cannot remember when you bought a harness, or it came secondhand with no history, treat it as retired. The cost of a new harness is trivial next to the cost of a belay loop failing at the anchor.
Inspect after every session, not once a season. The failure modes are specific and quick to check: webbing fuzz on the waist belt and leg loops, a belay loop that has thinned on one side, stitching that has pulled or gone fuzzy at the leg loop bridge, and buckles that slip when you pull the tail. A buckle that creeps is a hard stop — it means the friction mechanism has worn, and it will creep further under a fall load. Retire on any one of these, not on a combination, and do not patch or sew a damaged harness; repairs by anyone other than the manufacturer void the certification and are never worth the risk.
The trade-off is that retiring early feels wasteful, and a harness that has never taken a hard fall can look perfectly serviceable. But the inspection is cheap and fast, and the alternative is trusting a single loop of webbing you have not looked at closely. Keep a written note of the purchase date inside the harness or on your phone, because the age-based retirement rule only works if you actually know the age.