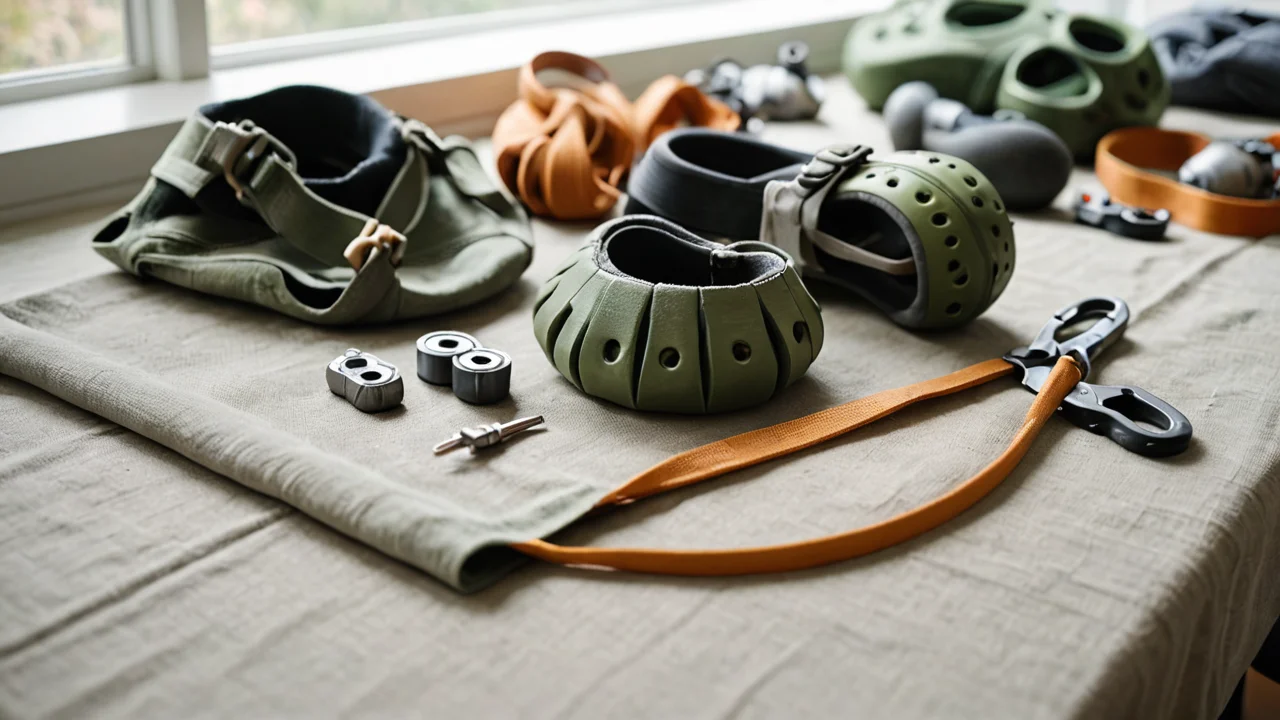
“Do I really need a ton of expensive gear just because I want to try rock climbing?”
The short answer is no; you do not need an armory of highly specialized and costly equipment to begin. In fact, the most essential items—the climbing shoes and a harness—can often be rented at local gyms until you are sure that rock climbing is for you. Starting out with minimal gear focuses your attention on technique, which is where 90% of your progress will come from, not the material quality of your ropes or shoes.
Figure Out What Rock Climbing Actually Is
Rock climbing, fundamentally, is a sport that involves ascending natural rock formations or artificial structures using specialized equipment. It is often mistakenly viewed as simply "getting up high," but it requires an intense combination of physical strength, mental focus, and advanced problem-solving skills. When people ask what the activity entails, they are looking at disciplines ranging from bouldering—which occurs on smaller rock sections without ropes or harnesses—to sport climbing, where routes bolted into the natural rock face require protective gear.
The physical demands are comprehensive. It works nearly every major muscle group in your upper body, including the forearms (which quickly build incredible grip strength), biceps, triceps, and back muscles like the latissimus dorsi. However, it is not just about brute force; proper technique minimizes strain on your joints and allows you to use smaller, more stabilizing muscles—the core, shoulders, and ankles—to maintain balance and efficiency. Because of this full-body integration, many people find it to be an incredibly effective workout that builds functional strength far beyond what a typical gym routine might replicate.
It is important to distinguish between the various formats because the gear required differs dramatically. Bouldering, for instance, requires nothing more than crash pads and chalk; you are working on short, intense problems of movement and grip. Conversely, traditional roped climbing demands a complete system: ropes, belay devices, protection, and harnesses. When starting out, almost all beginners will begin in an indoor gym setting, which provides the controlled environment necessary to learn these foundational movements safely before ever attempting outdoor natural rock.
The primary trade-off for being so physically demanding is that it can be incredibly taxing on your forearms early on. This isn't a weakness; it’s an expected part of conditioning. When you feel that burning sensation in your grip, understand that this is where the strength gains are happening, but it also means you need to manage rest and recovery seriously. Never try to push through sharp joint pain, even if the muscle fatigue feels good.
Master the Gear Fundamentals
The selection of essential gear needs to be approached methodically because everything works as an interconnected system. For a beginner focused on indoor gym climbing, you primarily need three things: climbing shoes, a harness, and a belay device. You can rent all of these items for your first few sessions, which is the financially responsible approach.
The climbing shoes are arguably the most crucial piece of equipment because they dictate how well you can grip small footholds. They should fit snugly but not painfully tight; a shoe that is too loose will allow your foot to slip, and one that is dangerously tight can restrict blood flow or cause blistering before you even get warmed up. When selecting a pair, look for models with a stiffer midsole if you tend to rely heavily on pushing off with your toes, as this offers more platform stability. Remember that the shoes are specialized performance tools; they should feel molded to your foot's natural arch and width.
The harness is straightforward—it’s essentially a padded belt system designed to fit around your waist and upper thighs. It must be rated for climbing use and should never be used in place of proper safety equipment. The biggest mistake beginners make with harnesses is wearing one that is either too baggy (allowing it to slide or bunch up) or one that has poor padding, leading to discomfort during extended sessions.
Finally, the belay device (the piece of hardware used by your partner to manage the rope's tension) must be appropriate for the type of climbing you are doing. For most beginners starting out with dynamic roped top-roping, a friction-based assisted braking device is standard and reliable. The core principle here is understanding that the belayer’s job is not just to hold the rope but to manage the fall factor. A properly set up system allows your partner to fall safely while keeping the tension managed so you can climb without worrying about an immediate, dangerous drop.
A key trade-off when selecting gear relates to weight versus safety redundancy. While lighter ropes are appealing for long days of climbing, always choose a rope rated appropriately for your maximum anticipated load and system setup; sacrificing proven strength for marginal weight savings is never worth the risk. Furthermore, you should never attempt to use a piece of equipment (like a belay device) that has been used or serviced by someone other than an experienced guide or partner.
Train Your Body Beyond Just Finger Strength
When people ask if rock climbing is a good workout, the answer is emphatically yes, but it’s crucial to understand how it works your body. While the intense focus on grip strength often draws attention to forearms and hands—and indeed, those muscles will become impressively strong quickly—a truly balanced approach requires training other areas.
The physical mechanics of climbing force you into a unique type of movement that is highly demanding on stabilizing muscles. Your core acts as the central pillar, constantly engaging abdominal and lower back muscles to keep your body aligned over precarious footholds. This constant need for stability prevents the common beginner error of simply "hanging" from an arm’s length; it forces efficient movement and weight distribution.
To ensure longevity and prevent injury, beginners must supplement their climbing sessions with cross-training that targets areas often neglected. Consider dedicated exercises for shoulder mobility (using resistance bands) to keep the rotator cuff healthy, which is prone to inflammation from repetitive pulling motions. Additionally, incorporating lower body strength training—like deep squats or lunges—is vital because your legs are not just used for pushing; they are your primary source of power and stability on the wall.
The major caveat here is overtraining. Because climbing involves such intense, localized stress (especially on fingers), taking too much time between sessions focusing only on pulling movements can lead to tendonitis or pulley injuries. A good training regimen incorporates active recovery days that involve stretching, light cardio, and mobility work, rather than just repeating hard pull-ups or boulder problems. The goal is functional fitness for climbing, not simply maximal strength in one area.
Get Started Safely
The question of how to get into rock climbing boils down entirely to minimizing risk while maximizing exposure to the fundamentals. Never attempt to learn this sport through YouTube videos or by just showing up at a crag (outdoor climbing area) unguided.
Your very first step must be to find an indoor, reputable climbing gym that offers beginner classes and rental packages. These gyms provide instructors who can teach you the proper mechanics of tying into a harness, setting up a belay station, and, most critically, how to fall safely (known as falling technique). This foundational knowledge is non-negotiable for safety.
When booking your initial sessions, ask specifically about "top-roping." Top-roping means the rope is already secured at the top of the route, meaning you can climb away from the anchor point and are never hanging by the rope initially. This allows you to focus 100% on movement and technique rather than worrying about falling or managing complex anchors. This structured progression is what defines a successful start.
A secondary consideration when getting started is finding a community. Climbing gyms are highly social environments, and the knowledge transferred from experienced climbers—the tips on foot placement or route reading—is often more valuable than any piece of gear you buy. The trade-off here is time commitment: climbing requires dedication to both physical effort and mental study (route reading). Treat it like a puzzle before you even put your shoe on, visualizing how the whole sequence must play out.
Prepare Your Mindset for Progression
Rock climbing demands not only physical endurance but also significant mental fortitude. This is where sports psychology becomes relevant; the ability to manage fear, overcome perceived limits, and maintain focus under duress is often what separates a good climber from a great one.
Beginners tend to get fixated on "sending" (reaching the top of a route) immediately. This leads to frustration when they inevitably fall. To counter this, your mindset needs to shift toward process over outcome. Instead of thinking, "I must reach the top," think, "What is the most efficient way to move from my current foot placement to the next secure handhold?"
This involves understanding failure as data. When you fall, don't get angry at yourself; analyze why the fall happened. Was it poor footwork? Did you commit too early? Were your hands gripping something that wasn't designed for load bearing? By treating every fall as a diagnostic moment—a chance to gather information about your own weaknesses—you accelerate your learning curve dramatically.
Another important element is managing the emotional trade-off of difficulty grading. Routes are graded using complex systems (V grades, French grades, etc.). When you encounter a grade that looks impossible, resist the urge to immediately give up. Most successful climbs involve sustained periods of struggle interspersed with moments of unexpected clarity and breakthrough. The mental discipline required to stay engaged when your muscles burn and your hands feel numb is arguably the most defining skill for a climber.
Support Your Body Outside the Gym
Finally, understanding what to wear rock climbing requires looking beyond just the gear—it involves preparing your body’s support structure. While you don't need specialized clothing items like high-tech compression pants or unique shirts (gym t-shirts and athletic shorts are perfectly fine), proper preparation means addressing hydration, nutrition, and recovery.
Hydration is critical because climbing is such an intense aerobic and anaerobic burst activity that can quickly lead to dehydration. You must bring water with you in amounts far exceeding what feels necessary when you first start; aim for constant sipping throughout the entire session, not just when you feel thirsty. Similarly, bringing a small, easily digestible snack—something high in simple carbohydrates—can provide rapid energy reserves when your muscles begin to flag late in a long day of climbing.
The most common clothing mistake beginners make is wearing materials that are too restrictive or absorbent. Avoid heavy cotton garments; these fabrics absorb sweat and become incredibly heavy, dragging you down and causing discomfort on the rock face itself. Opt instead for technical athletic wear made from synthetic, moisture-wicking blends that move with your body while keeping it cool and dry.
Buy the harness and shoes before anything else — and size them for the wrong reasons
If you're going to stop renting, buy in this order: shoes, harness, chalk bag, then belay device. Everything else — rope, quickdraws, slings — belongs to a partner or the gym until you're leading, not top-roping.
Shoes are where beginners overspend and undersize. The common failure is buying a tight, aggressively downturned shoe because it looked serious on the shelf; you then spend the session taking them off between routes and climbing worse because your toes hurt. A flatter, stiffer shoe with a comfortable fit lets you stand on small edges and trust your feet, which is the actual skill. Try on several pairs late in the day when your feet are at their largest, and walk around the shop in them. If you can't imagine wearing them for a full session, they're the wrong shoe.
Harnesses are the opposite problem: fit matters more than price. Check that the waist belt sits above your hip bones and can't be pulled down over them when loaded, that the leg loops don't cut into your thighs when you hang, and that the gear loops are where your hands naturally fall. A cheap, well-fitted harness beats an expensive one that rides up. Look for a UIAA or CE safety label on the harness and the belay device — that marking is the certification, not marketing copy.
Learn to inspect your gear, and know when to retire it
Gear fails at the points you don't look at: the webbing where the harness tie-in loop meets the padding, the stitching on leg-loop risers, the metal body of a belay device after a rope has run hot through it. Do a two-minute check before every session — run the harness webbing through your fingers looking for fuzzing, cuts, or faded dye that signals UV or chemical damage, and check the belay loop for wear where the carabiner rubs.
Retirement rules are simpler than beginners expect. Soft goods — harness webbing, slings, rope — get replaced on a schedule set by the manufacturer regardless of how they look, and immediately after any fall that loaded them hard, any contact with battery acid or strong chemicals, or visible damage. Metal hardware lasts far longer but gets retired after a big fall onto it or obvious deformation. Write the purchase date on the gear with a marker; you will not remember it.
The mistake that actually hurts people is borrowing gear with unknown history — a used harness from a friend, a rope from a garage sale. You cannot inspect a rope's core, and a harness that took a hard fall may look fine. Buy your own soft goods new, and treat anything secondhand as decorative.